Lima, Ohio homeowners know all too well the impact severe weather can have on their properties. From powerful thunderstorms to damaging hail and strong winds, our region experiences weather events that can significantly affect your home’s exterior, particularly your vinyl siding. Conducting a thorough post-storm siding inspection is crucial for maintaining your home’s protection, preventing costly repairs, and preserving your property value.
This comprehensive guide will walk you through the essential steps to safely and effectively inspect your vinyl siding after Lima storms, helping you identify damage early and make informed decisions about repairs.
Understanding Lima’s Storm Patterns and Siding Vulnerabilities
Lima’s geographic location in northwest Ohio makes it susceptible to various weather phenomena throughout the year. Spring and summer bring severe thunderstorms with high winds, hail, and heavy precipitation, while winter storms can cause ice damage and temperature-related expansion issues. Understanding these patterns helps homeowners prepare for and recognize potential siding damage.
Vinyl siding, while durable and low-maintenance, has specific vulnerabilities. High winds can cause panels to lift, buckle, or completely detach. Hail can create dents, cracks, or punctures. Temperature fluctuations can cause expansion and contraction that may loosen fasteners or create gaps. Debris carried by storm winds can impact siding panels, causing scratches, gouges, or more severe damage.
Pre-Inspection Safety Considerations
Before beginning your siding inspection, prioritize safety above all else. Wait until the storm has completely passed and conditions are safe. Avoid inspecting during active weather or when surfaces remain wet and slippery. If you notice downed power lines, damaged utility connections, or structural damage to your home, contact professionals immediately rather than attempting your own inspection.
Gather appropriate safety equipment including non-slip shoes, work gloves, safety glasses, and a sturdy ladder if needed for higher areas. Have a friend or family member assist you, especially when using a ladder. Take photographs of any damage you discover for insurance documentation and professional consultation purposes.
Essential Tools for DIY Siding Inspection
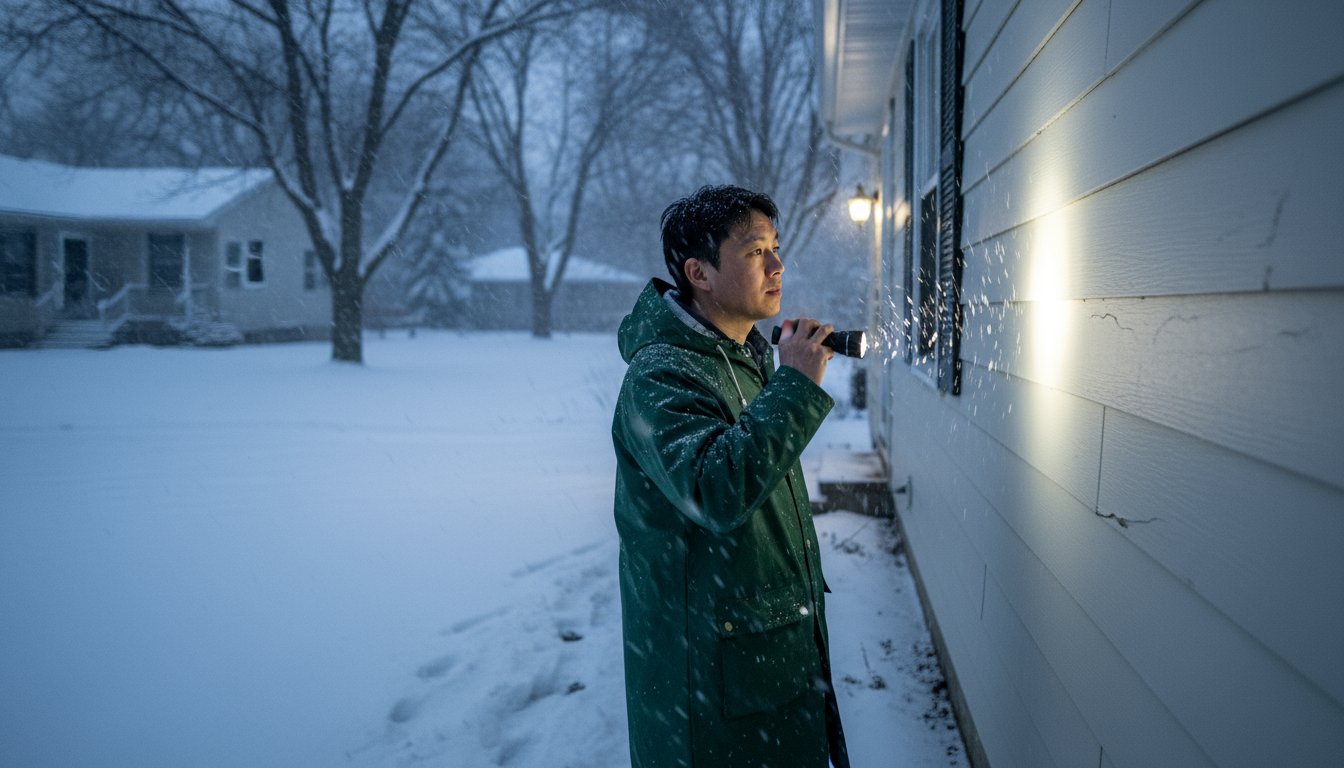
Effective siding inspection requires the right tools. Gather a digital camera or smartphone for documentation, measuring tape for assessing damage extent, binoculars for viewing high areas safely from the ground, a flashlight or headlamp for examining shadowed areas, a notepad and pen for recording findings, and basic hand tools like a screwdriver for testing loose panels.
Consider having a ladder available, but only use it if you’re comfortable and have proper assistance. Many areas can be adequately inspected from the ground using binoculears, which is often the safer approach.
Step-by-Step Exterior Inspection Process
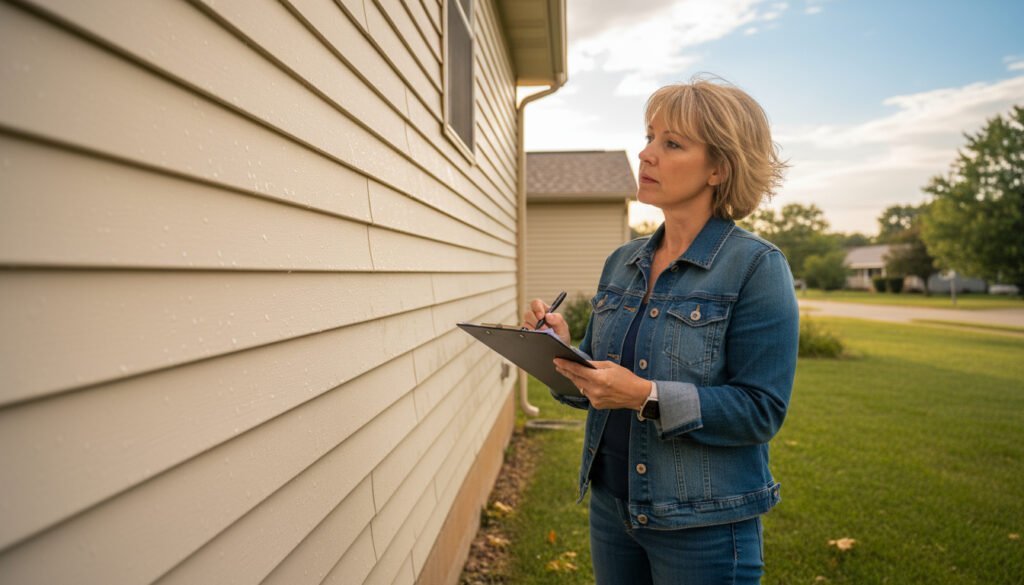
Visual Survey from Ground Level
Begin your inspection by walking completely around your home’s perimeter, maintaining a safe distance to observe the overall condition. Look for obvious signs of damage including missing panels, panels hanging at odd angles, visible cracks or holes, discoloration or staining, accumulated debris against the siding, and areas where panels appear to have shifted or buckled.
Document the location and extent of any issues you observe. Take multiple photographs from different angles to capture the full scope of damage. Pay particular attention to corners, areas around windows and doors, and sections that face the direction from which the storm approached.
Detailed Panel-by-Panel Examination
After your initial survey, conduct a more detailed inspection of each section. Look for subtle damage that might not be immediately apparent, including hairline cracks, small dents or indentations, loose or missing fasteners, gaps between panels, warped or twisted sections, and damage to trim pieces and accessories.
Check the condition of caulking around windows, doors, and other penetrations. Storm damage can compromise these seals, potentially leading to water infiltration issues if left unaddressed.
Checking Fasteners and Attachments
Examine the fasteners holding your siding panels in place. Look for nails or screws that have backed out, torn through the siding material, or are missing entirely. Gently test panels by applying light pressure to see if they feel secure or if there’s any give that might indicate loose attachment.
Pay attention to areas around electrical outlets, light fixtures, vents, and other accessories mounted on the siding. These areas are particularly vulnerable to wind damage and may require closer inspection.
Identifying Different Types of Storm Damage
Wind Damage Assessment
Wind damage often manifests as panels that have lifted, buckled, or completely detached from the home. Look for horizontal lines or creases in panels that indicate they’ve been bent by wind pressure. Check for panels that appear loose or have gaps at the edges where they should overlap with adjacent pieces.
Examine corners and edges particularly carefully, as these areas are most susceptible to wind uplift. Look for any panels that appear to be flapping or moving in even light breezes, as this indicates compromised attachment.
Hail Damage Recognition
Hail damage can range from subtle to severe. Small hail might create minor dents or dings that are barely visible, while large hail can cause significant punctures, cracks, or shattered areas. Look for circular or irregularly shaped dents, particularly on south and west-facing walls that typically bear the brunt of storm systems.
Check for damage patterns that correspond to the storm’s direction and intensity. Hail damage often appears in clusters or lines, reflecting the storm’s path and wind patterns.
Debris Impact Damage
Flying debris during storms can cause various types of damage including gouges, scratches, punctures, or impact marks. Look for damage that appears inconsistent with wind or hail patterns, such as linear scratches from tree branches or circular marks from impact with round objects.
Examine areas near trees, outdoor furniture, or other objects that could become projectiles during high winds. These areas are most likely to show debris-related damage.
Interior Inspection Considerations
Don’t limit your inspection to exterior viewing. Check interior walls for signs of water infiltration, including water stains, dampness, or discoloration. Examine areas around windows and doors where compromised siding might allow moisture penetration.
Look in your attic or basement for signs of water entry that might indicate siding damage has compromised your home’s weather barrier. Early detection of water infiltration can prevent more serious structural issues and mold growth.
Documentation and Record Keeping
Proper documentation is crucial for insurance claims and professional consultations. Create a systematic record of your findings including detailed photographs of all damage, written descriptions of each issue, measurements of damaged areas, dates and times of your inspection, and weather conditions during the inspection.
Organize your documentation by location around your home, making it easy for insurance adjusters or repair professionals to understand the scope and extent of damage. Keep both digital and physical copies of all documentation.
When to Contact Professional Inspectors
While DIY inspection can identify obvious damage, certain situations require professional expertise. Contact professionals when you observe extensive damage affecting multiple panels, structural issues or damage to the home’s weather barrier, damage in hard-to-reach or dangerous areas, signs of water infiltration, or if you’re uncomfortable performing the inspection yourself.
Professional inspectors have specialized tools, training, and experience that can identify subtle damage you might miss. They can also provide detailed assessments for insurance purposes and recommend appropriate repair strategies.
Temporary Protection Measures
If you discover significant damage, take immediate steps to protect your home from further weather exposure. This might include covering damaged areas with tarps or plastic sheeting, securing loose panels, or boarding up severely damaged sections.
Remember that these are temporary measures only. Permanent repairs should be completed as soon as possible to restore your home’s weather protection and prevent additional damage from subsequent weather events.
Insurance Considerations for Lima Homeowners
Ohio homeowners should understand their insurance coverage regarding storm damage. Most homeowner’s policies cover sudden and accidental damage from storms, but coverage details vary. Contact your insurance company promptly to report damage and understand your claim process.
Be prepared to provide your documentation and allow insurance adjusters to inspect your property. Professional assessments from qualified contractors can support your claim and ensure you receive appropriate coverage for necessary repairs.
When storm damage affects your Lima home’s siding, trust the experts at Ohio Vinyl Siding Guru for professional inspection and repair services. Our experienced team understands local weather patterns and provides comprehensive solutions to restore your home’s protection and appearance. Contact us at (567) 471-6816 for reliable, professional siding services throughout Lima and surrounding areas.